Understanding Finish Trim and Its Role in Interior Design
Finish trim is an essential component of interior design that elevates the aesthetic appeal and functionality of any space. It encompasses a variety of moldings, baseboards, casings, and crown moldings that serve both decorative and practical purposes. Well-chosen and expertly installed finish trim can transform plain rooms into cohesive, polished environments, adding depth, character, and a refined touch to your interior decor. In this comprehensive guide, we will explore the nuances of finish trim — from its fundamental definitions to advanced installation techniques — equipping homeowners, contractors, and designers with the knowledge needed to achieve professional-quality results. To get started on your finishing project, visit Finish trim that suits your style and budget.
Definition and Common Types of Finish Trim
At its core, finish trim comprises decorative moldings and strips used to hide structural imperfections, create smooth transitions between surfaces, and provide stylistic accents. These elements are integral to the finishing stage of construction or renovation, imparting a tailored look to diverse rooms.
The most common types include:
- Baseboards: Installed at the junction of walls and floors, baseboards add a finished look while protecting walls from damage. Styles range from simple rectangular profiles to elaborate ornate designs.
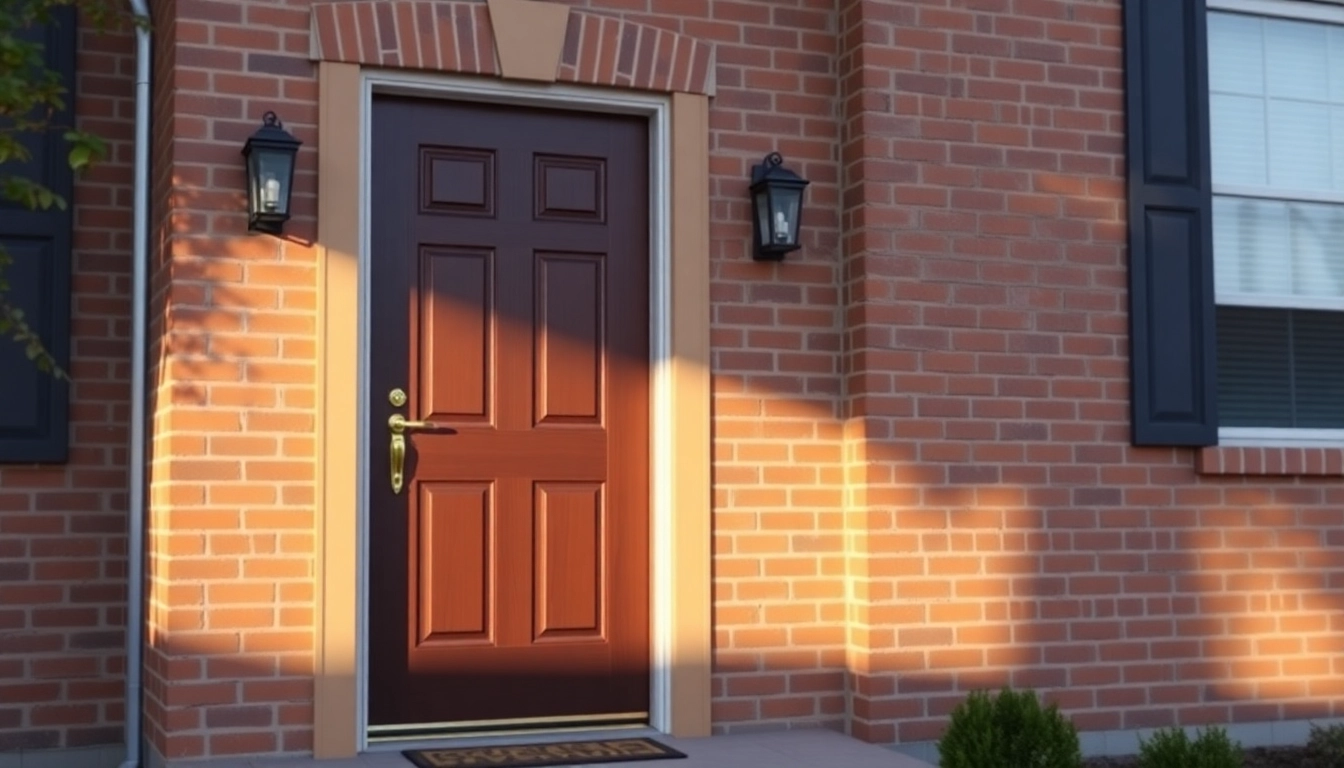
- Casing: Frames around doors and windows that enhance architectural details and help conceal gaps between the wall opening and trim.
- Crown Molding: Crown moldings add visual height and elegance by bridging the wall and ceiling; they are available in traditional, modern, and transitional styles.
- Chair Rail: Wainscoting or decorative trim installed horizontally at chair height, used to divide wall sections or add aesthetic accents.
- Picture Rail and Decorative Moldings: Designed for artistic purposes or to hang artwork without damaging walls, often adding historical or classical appeal.
Each type of finish trim comes in various profiles, sizes, and materials, allowing customization to match architectural styles and personal preferences.
Importance of Finish Trim for Aesthetic Appeal
Finish trim is more than just a finishing touch; it is fundamental to the overall visual harmony of an interior. The right trim detailing can accentuate room proportions, hide imperfections, and create a cohesive style narrative. Whether aiming for a modern minimal look or a richly classical ambiance, finish trim bridges functional necessity with decorative intent.
Properly installed and carefully crafted finish trim adds perceived value to a home — a detail that enhances the craftsmanship and demonstrates attention to detail. For example, high-quality crown molding can frame a ceiling, drawing the eye upward and giving a sense of grandeur, while well-designed baseboards can subtly ground a room, providing a seamless transition from wall to floor.
In addition to aesthetics, finish trim also serves practical roles: protecting walls from furniture and foot traffic, covering gaps between elements, and allowing for easy maintenance and cleaning.
Key Styles and Profiles for Different Rooms
Different rooms often demand specific finish trim styles to match their purpose, architectural style, and decor. Here’s how to choose appropriate profiles:
Living Rooms & Formal Spaces
- Sweeping crown moldings with elaborate profiles add regal elegance.
- Broad, decorative baseboards complement high ceilings and ornate furnishings.
- Custom picture rails and detailed wall moldings can infuse a classical or vintage feel.
Kitchen & Bathroom
- Simple, water-resistant baseboards and minimal casing are preferred for durability.
- Flush or low-profile moldings reduce moisture accumulation.
Bedrooms & Casual Spaces
- Subtle, narrow cove or rounded profiles create a cozy atmosphere.
- Clean, understated baseboards align with modern aesthetics.
Home Offices & Commercial Spaces
- Neutral, versatile profiles that can be painted or finished to match corporate branding.
- Functional moldings that provide acoustic benefits or conceal wiring and pipes.
Understanding room-specific needs and style themes is critical for selecting the most appropriate finish trim profiles, ensuring both aesthetic harmony and practical performance.
Choosing the Right Finish Trim Materials and Styles
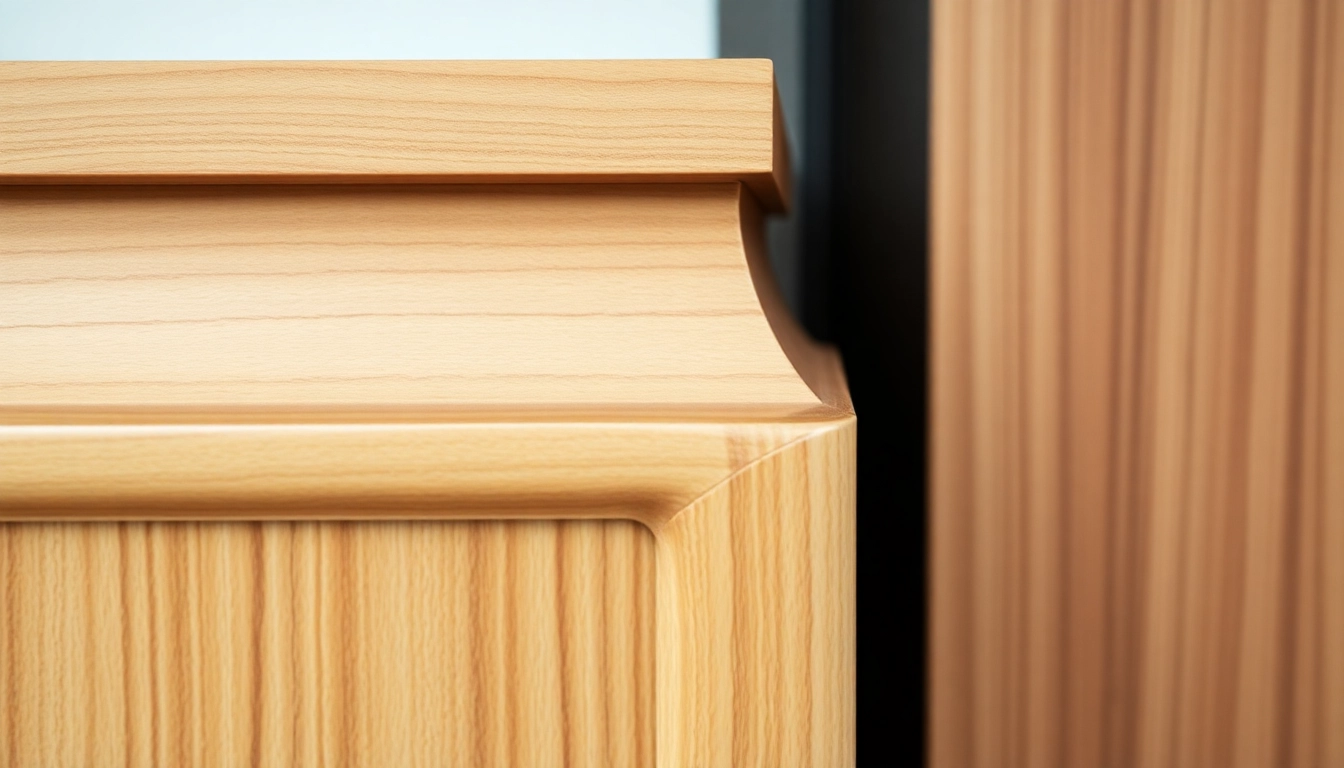
Popular Wood Types and Their Finishing Characteristics
Material selection plays a pivotal role in the longevity and appearance of your finish trim. The most widely used materials include:
- Pine: Cost-effective, lightweight, and easy to work with; accepts paint or stain well, making it suitable for most interior applications.
- Oak: Hard, durable, with prominent grain patterns; ideal for high-traffic areas and finishes that highlight natural wood textures.
- Maple: Dense and smooth, excellent for painted finishes; its fine grain offers a sleek, modern look.
- MDF (Medium Density Fiberboard): Engineered wood with a uniform surface, ideal for painted finishes; less prone to warping but less durable in moist environments.
- Plywood: Strong and dimensionally stable, suitable for custom profiles and larger installations.
Each material offers unique finishing characteristics—some lend themselves better to staining, while others are optimized for painting. Consider durability, ease of installation, and aesthetic goals when selecting the appropriate wood type.
Matching Finish Trim to Interior Decor
Synchronization between trim style and overall interior design enhances cohesion and aesthetic appeal. For example:
- Traditional Homes: Opt for ornate crown moldings and detailed baseboards in rich woods or painted finishes.
- Modern Interiors: Favor clean-lined profiles, minimal profiles, or painted MDF for a sleek, contemporary look.
- Transitional Spaces: Combine traditional profiles with modern finishes for balanced sophistication.
Color choices, finish (paint, stain, or varnish), and profile complexities should complement furniture, wall treatments, and architectural features. Always consider lighting and room function to ensure your trim enhances the overall design language.
Cost Considerations and Budget Tips
Understanding cost factors allows for budget-conscious planning without compromising quality. Key considerations include:
- Material Costs: Solid wood is more expensive than MDF or plywood but offers superior durability and appearance.
- Profile Complexity: Intricate profiles require more material and labor, increasing costs.
- Preparation & Finishing: Higher-quality paints, stains, and sealers add to the overall expense but yield premium results.
Budget tips include prioritizing essential trim profiles, opting for engineered materials in less prominent areas, and leveraging professional installers for precision and efficiency. Additionally, shopping during sales or using reclaimed wood can reduce costs while maintaining high aesthetic standards.
Step-by-Step Guide to Installing Finish Trim
Preparation and Measuring Techniques
Proper preparation is foundational to a flawless finish trim installation. Begin by selecting your trim profiles based on your design goals. Next, accurately measure wall lengths, door and window openings, and ceiling heights using a tape measure and a level. Remember to add an extra 1/8 to 1/4 inch for allowance to accommodate imperfections and expansion gaps.
Patterning and marking cut lines beforehand ensures precision. Use a combination square or miter saw to mark cut points, and double-check measurements. For complex corners, draw out templates or use a story pole to transfer measurements efficiently across multiple pieces. Expert insight suggests marking in place rather than relying solely on numerical measurements, reducing cumulative errors.
Cutting, Mitering, and Fitting Tips
Precision cutting is vital for tight joints. Use a miter saw set to the correct angles—typically 45°—for corners and miters. For internal corners, cut bevels that fit snugly. External corners should have complementary bevels or coping techniques to ensure seamless joints. A coping saw can be employed to cut along the profile for more intricate joints, especially in complex corner configurations.
Ensure blades are sharp and properly aligned. Test cuts on scrap pieces help verify accuracy before final cuts. When fitting, dry-assemble pieces to check alignment and fit, making adjustments as necessary. Use clamps and temporary nails to hold pieces in place during final fitting stages.
Sealing, Painting, and Finishing for a Professional Look
Once fitted, finishing touches include sealing nail holes with wood filler or caulk, sanding smooth, and applying primer if painting. For painted trims, using a high-quality latex or oil-based primer ensures adhesion and durability. When painting, use long, even strokes, and consider multiple thin coats for flawless coverage, especially on stained or raw wood surfaces.
To achieve a professional sheen, select appropriate sheens—semi-gloss or satin—for trim surfaces. For stained wood, apply a clear sealer or varnish. Finishing techniques like brushing, rolling, or spraying can impact the final appearance; professional application often involves spraying for an ultra-smooth finish.
Proper finishing not only enhances appearance but also prolongs the lifespan of your trim, protecting it from moisture and wear.
Best Practices for a High-Quality Finish
Surface Preparation and Nail Placement
An impeccable finish starts with meticulous surface preparation. Prior to installation, clean surfaces of dust and debris. Sand surfaces smoothly, especially if repainting or staining, to ensure adhesion and conceal imperfections.
Nail placement is critical — setting nails below the surface and countersinking them prevents bulges. Use finishing nails appropriate for your trim’s thickness and material, and apply adhesive or nails for securing especially heavy or large profiles. Cover all nail holes with wood filler or putty, sanding smooth for seamless joints.
Choosing the Right Paint or Stain
Selecting the right finish product impacts durability and aesthetics. For interior trim, high-quality latex paints with a semi-gloss or satin sheen are popular due to their ease of cleaning and elegant appearance. If natural wood look is preferred, opt for stains and sealers that bring out the grain while providing protection.
Use primer compatible with your chosen paint or stain for better adhesion and color uniformity. For trims exposed to moisture, consider moisture-resistant coatings or specialty paints. Expert tips recommend using premium paints like Benjamin Moore Aura for a high-end finish.
Common Mistakes to Avoid During Installation
Even seasoned DIYers can stumble into pitfalls when installing finish trim. Key mistakes include:
- Inaccurate measurements leading to gaps or misaligned joints.
- Uneven cuts or improper miter angles, resulting in visible gaps.
- Failing to secure trim properly, causing warping or shifting over time.
- Neglecting surface prep, which hampers paint adhesion and finish quality.
- Choosing mismatched profiles or inappropriate materials for the room.
Counteract these errors by double-checking measurements, using quality tools, applying consistent fastening techniques, and preparing surfaces thoroughly. Patience and attention to detail are your best allies for achieving professional results.
Maintenance and Enhancing Longevity of Finish Trim
Cleaning and Routine Care
Preserving the beauty of finish trim requires routine maintenance. Regularly dust with a soft cloth or vacuum using brush attachments to prevent dirt buildup. For deeper cleaning, dampen a cloth with a mild soap solution, avoiding harsh chemicals that can damage paint or stain finishes.
Avoid excessive moisture, which can cause wood swelling or paint peeling. For decorative moldings and crowns, periodic polishing with furniture wax or specialized protective products can restore luster.
Touch-ups and Repair Tips
Damage such as chips, scratches, or dents is inevitable over time. Keep spare trim pieces or leftover paint for quick repairs. Light dings can be filled with matching putty, sanded smooth, and repainted seamlessly.
For more significant damage, removing and replacing the affected section may be necessary. During repainting, feather the edges of the new paint to blend with existing finishes for a uniform appearance.
Innovative Upgrades for a Fresh Look
To update your interior style, consider upgrading or modifying your finish trim. Options include switching from traditional wood to painted MDF for a contemporary look, adding LED lighting to crown moldings, or incorporating decorative accents such as rosettes or medallions.
Another trend involves using textured or embossed finishes on trim surfaces, providing tactile interest and modern appeal. Regularly reviewing current design trends and experimenting with materials can keep your interiors fresh and stylish.